- "We live in a disunited Kingdom. Just look at England and Scotland, they’re almost divorced; arguing over who gets to keep the oil and who gets the ‘Donald, Where’s Your Trousers’ CD. And Wales! They want to be independent. They want to split from the Mainland and float off towards The Bahamas. If the country gets any more disunited, you’ll need a VISA to get into Yorkshire. But here on Robot Wars, it doesn’t matter where you come from, we’re all united. It’s just the robots than wanna kill each other. And who are we to call the peace?!"
- — Craig Charles' introduction
Heat L of Robot Wars: The Second Wars was the twelfth and final heat which determined the Semi-Finalists of Robot Wars: The Second Wars. This episode was originally broadcast on 12 February 1999 on BBC Two. The broadcast managed to attract 5.72 million viewers, a decrease of 460,000 viewers when compared with the previous episode. According to BARB, this meant it ranked first in the top thirty highest rated BBC 2 broadcasts during 8-14 February, for the second consecutive week.
Competing Robots[]
Newcomers[]
 | ||
|---|---|---|
| Angel of Death | ||
| Weight | 77.8kg | |
| Dimensions | 1.1 x 0.9 x 0.22m | |
| Speed | 4mph | |
| Turning Circle | 0m | |
| Ground Clearance | 2mm | |
| Power | 2 x 12V batteries | |
| Weapons | Front and rear circular saws | |
| Notes | Built over 2-3 months. Cost £250. Powered by Volvo windscreen wipers | |
| From: Bristol | ||
| Team Members: Dan McGrath & Nathan Green | ||
 | ||
|---|---|---|
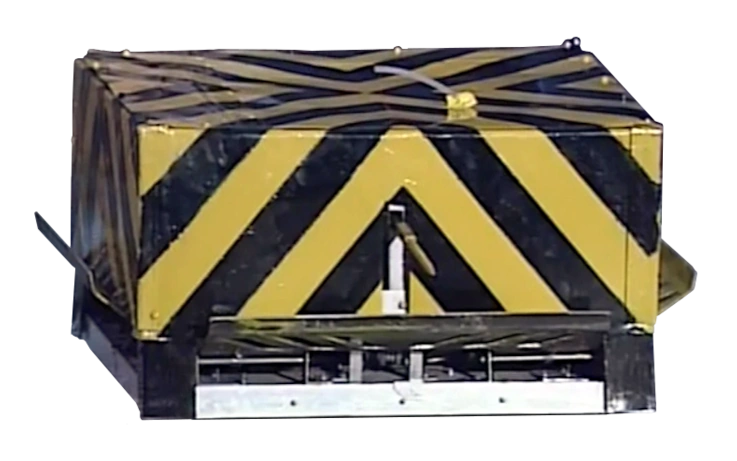
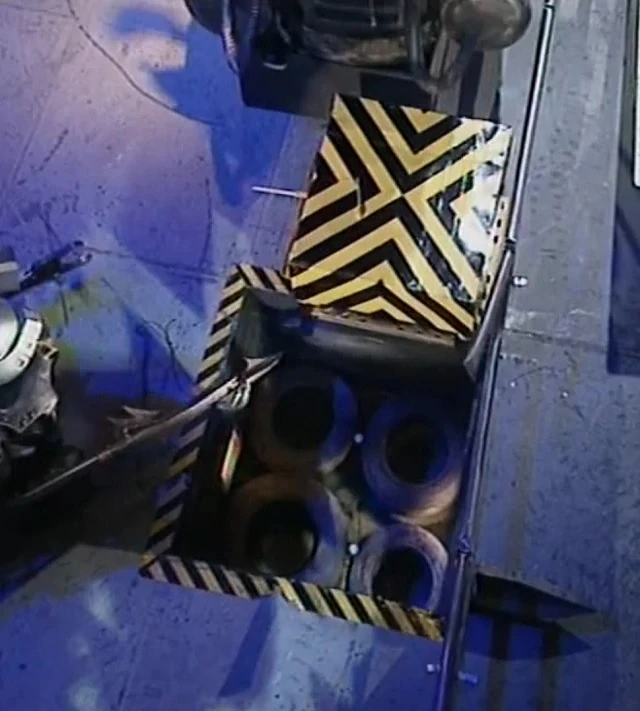
| Flirty Skirty | ||
| Weight | 79.5kg | |
| Dimensions | 1.05 x 1.05 x 0.5m | |
| Speed | 2mph | |
| Turning Circle | 0m | |
| Ground Clearance | 3mm | |
| Power | 2 x 12V batteries | |
| Weapons | Pneumatic lifting skirts and spikes | |
| Notes | Circuit boards designed by Stafford College. HGV lorry air tanks | |
| From: Baswich in Staffordshire | ||
| Team Members: Richard Peter, Victor Peter & Albert Peter | ||
 | ||
|---|---|---|
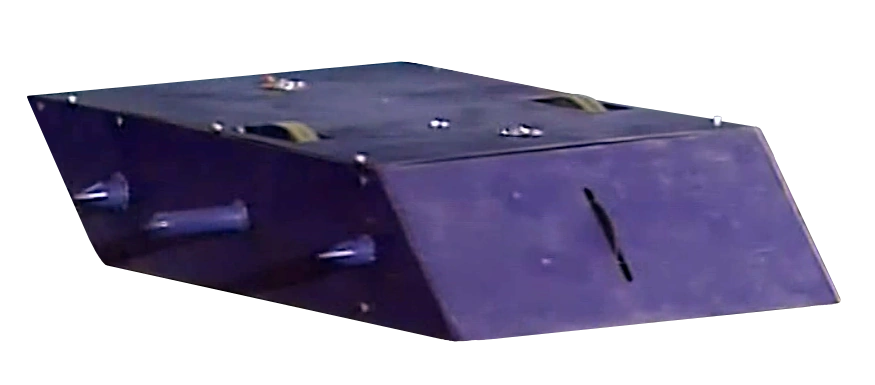
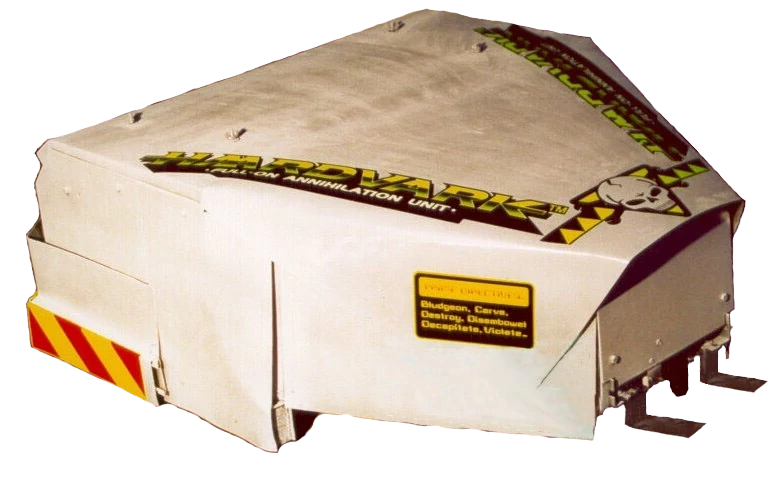
| Haardvark | ||
| Weight | 79.8kg | |
| Dimensions | 1.5 x 0.85 x 0.4m | |
| Speed | 12mph | |
| Turning Circle | 0m | |
| Ground Clearance | 10mm | |
| Power | 2 x 12V batteries | |
| Weapons | Lifting forks and circular saw on arm (removed to meet weight restrictions) | |
| Notes | Chassis strengthened with strip steel and aluminium beams | |
| From: Cannock in Staffordshire | ||
| Team Members: Owen Barwick, Liz Harrison & Mike Evans | ||
 | ||
|---|---|---|
| Havoc | ||
| Weight | 77.3kg | |
| Dimensions | 1.3 x 0.72 x 0.4m | |
| Speed | 6mph | |
| Turning Circle | 0m | |
| Ground Clearance | 50mm | |
| Power | 2 x 12V batteries | |
| Weapons | Zinc mace and lifting jack | |
| Notes | Weapons salvaged from a car jack and powered by windscreen wiper | |
| From: Burnley | ||
| Team Members: Kevin Shirtcliffe, John Robinson & Philip Robinson | ||
 | ||
|---|---|---|
| Tender Caress | ||
| Weight | 78.7kg | |
| Dimensions | 1.2 x 0.8 x 0.4m | |
| Speed | 15mph | |
| Turning Circle | 0.6m | |
| Ground Clearance | 38mm | |
| Power | 2 x 12V batteries | |
| Weapons | Spikes, circular saw and 1000RPM angle grinder | |
| Notes | Custom built electronics. Aluminium shell with stainless steel mesh | |
| From: Redford in Surrey | ||
| Team Members: Phil Thomas, Rik Allen, Andrew Berridge & Duncan McPherson | ||
 | ||
|---|---|---|
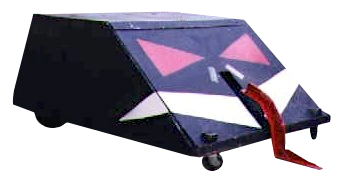
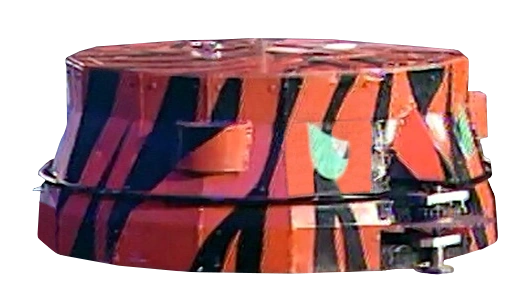
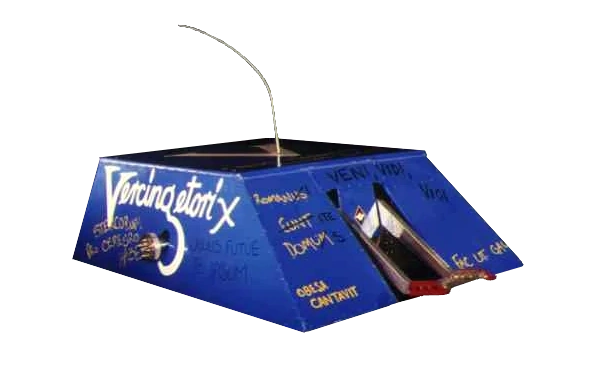
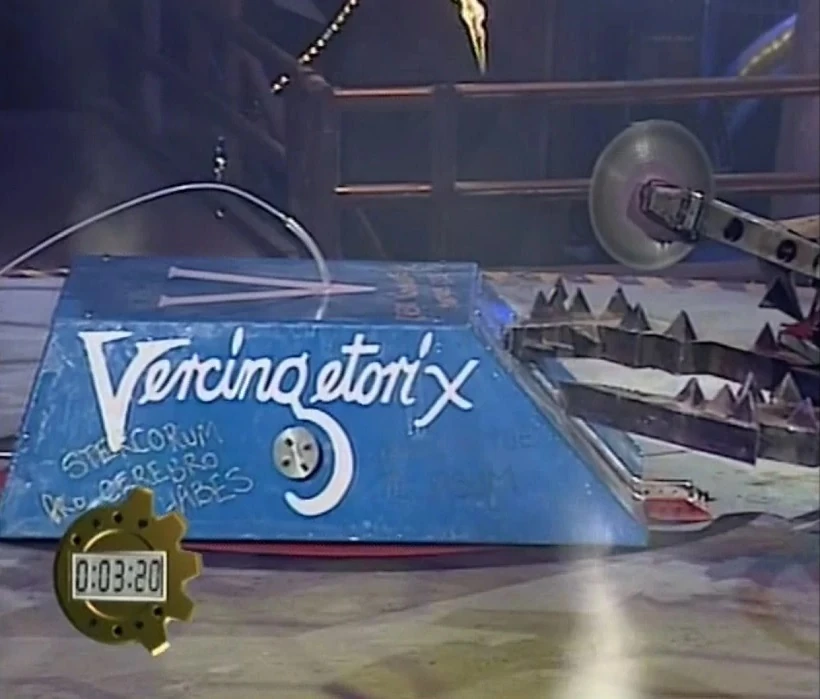
| Vercingetorix | ||
| Weight | 77.9kg | |
| Dimensions | 1.2 x 0.72 x 0.38m | |
| Speed | 9mph | |
| Turning Circle | 0m | |
| Ground Clearance | 3-25mm (Variable) | |
| Power | 2 x 12V batteries | |
| Weapons | Pneumatic flipper and side rams | |
| Notes | Adjustable outer shell for ground clearance. 24V wheelchair motors | |
| From: Isle of Wight | ||
| Team Members: Ian Gear, Alistair Curtis-Horsefall & Nigel Radestock | ||
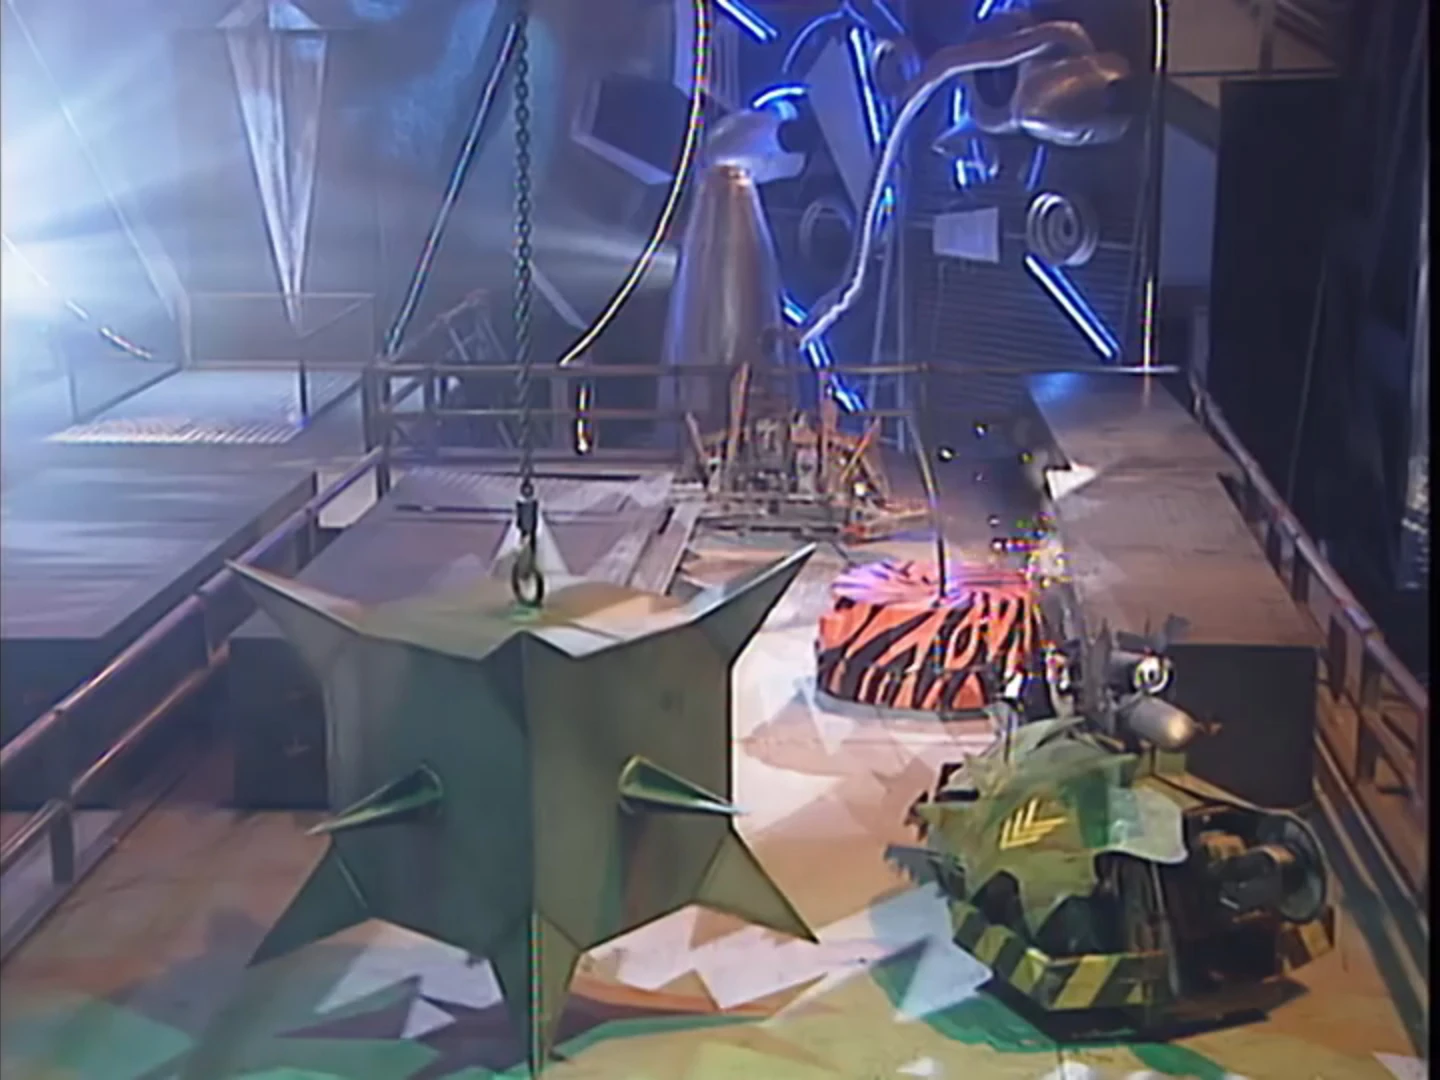
Gauntlet[]
Competitor runs[]
| Left Route | Centre Route | Right Route |
|---|---|---|
| The Sentinel, Dead Metal and two pits | Spikes, see-saw, and Sir Killalot | Ramrig, flame pit, pendulum and Sergeant Bash |
Vercingetorix[]

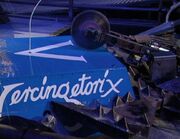
Dead Metal cuts into Vercingetorix
Vercingetorix crept out of the starting zone and headed into the left route. Vercingetorix was moving slowly, meaning it was effortlessly bounced up by the floor spike as it went over. The spike repeatedly bounced Vercingetorix up and down, allowing The Sentinel time to adjust itself to get in Vercingetorix's way when it finally escaped the spike. The Sentinel's blade spun and shoved Vercingetorix into the side wall.
Vercingetorix was pinned in the wall with its wedge between the bars, so The Sentinel freed Vercingetorix with a reverse slam. The arm was brought back in, and one of the spikes of he Sentinel drove themselves into the flipper blade of Vercingetorix. Although Vercingetorix pushed back at the arm, it was spun around and left by the wall. The Sentinel retracted the arm and allowed Dead Metal to drive in and attack Vercingetorix, which had seemingly become immobile. Dead Metal grabbed the competitor and began slicing into the top armour repeatedly with its saw until time ran out.
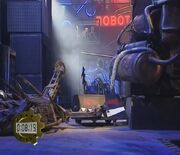
Haardvark[]
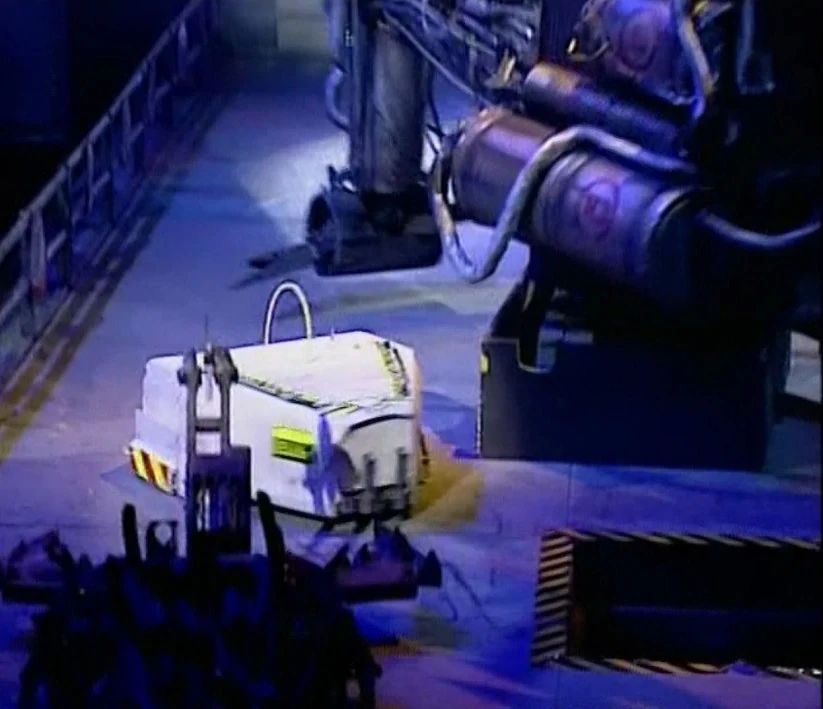
Haardvark stuck between the House Robots
Haardvark zipped to the left route, easily passing the spike and The Sentinel with a good burst of speed. However, Haardvark turned left to avoid Dead Metal but failed and was pinned by the House Robot onto The Sentinel's plinth. Dead Metal grabbed Haardvark and reversed. With a bit of help from The Sentinel, Dead Metal was able to easily overpower Haardvark and dump the white robot in the pit.
Tender Caress[]

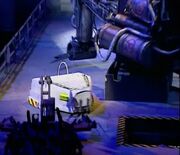
Tender Caress beached in the ramrig
Tender Caress wobbled as it tried to exit the start zone, gitting its spike stuck in the side and having to have another go. Tender Caress finally reversed out and headed towards the right route. It accelerated in, but without much aim, and ended up wedged in the ramrig.
Tender Caress tried to reverse and get going again, but just drove into the other sides of the ramrig. All the while, Sergeant Bash was throwing flames over Tender Caress, as Dead metal blocked the escape from behind. Dead Metal drove into the ramrig and grabbed Tender Caress, cutting into the top armour as time ran out.
- "Indestructible, but incontrollable [sic]. [It's a] shame we can't go straight!"
- — The Tender Caress team reflect on the robot's drivability issues in the Gauntlet run.
Havoc[]

Havoc is pinned on The Sentinel
Havoc lined up in the starting zone, but failed to move at all when activate was called.
- "Just a wire's come off. So, about a 10 seconds job"
- — Philip Robinson describes the robot's issues.
With the robot repaired, Havoc tried again. It moved off and headed into the left route, where it struggled to line up properly to make a run down. Havoc backed up as The Sentinel aimed its arm towards Havoc. When The Sentinel moved out of the way, Havoc tried to zip forwards, but Dead Metal had driven down at the time and pushed Havoc backwards.
Havoc managed to drive past the Sentinel, but Dead Metal was blocking the pinch point with the plinth. Havoc tried to push through Dead Metal, but the House Robot stood still, using a pincer to pin Havoc in place until time ran out.
Flirty Skirty[]

Flirty Skirty tries to avoid the pit
Flirty Skirty moved slowly off the line, heading in towards the left route. The slow speed allowed the floor spike to fire a few times under Flirty Skirty, which was then attacked from behind by Sergeant Bash. Flirty Skirty moved forwards to try and pass The Sentinel, but he arm caught Flirty Skirty in its arc. However, as The Sentinel kept spinning, it dragged Flirty Skirty forwards, depositing it in the gap between The Sentinel and the second pit.
Sir Killalot edged its lance into the gap under Flirty Skirty's skirts and lifted the yellow and black robot up. Sir Killalot reversed and let go of Flirty Skirty, dropping it into the pit.
Angel of Death[]

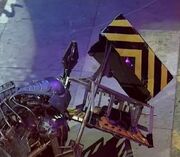
Dead Metal holds onto Angel of Death
Angel of Death aimed down the right route, moving in, but turning left, rather than right, at the entrance to the ramrig. Angel of Death then reversed into the ramrig, but stopped when the back rode up the small wedge of the rig. This lifted the wheels off the ground enough that they were useless.
Sergeant Bash and Dead Metal surrounded Angel of Death, finally freeing it from the ramrig, but instead leaving it caught in Dead Metals' grasp. Dead Metal tried to cut the tip of Angel of Death as time ran out, but it didn't have the reach to get low enough.
Results[]
| Rank | Robot | Distance |
|---|---|---|
| Haardvark | 10.6m | |
| Flirty Skirty | 10.4m | |
| Havoc | 8.2m | |
| Vercingetorix | 5.1m | |
| Tender Caress | 5.0m | |
| Angel of Death | 2.9m |
Trial (Sumo)[]
Tender Caress[]
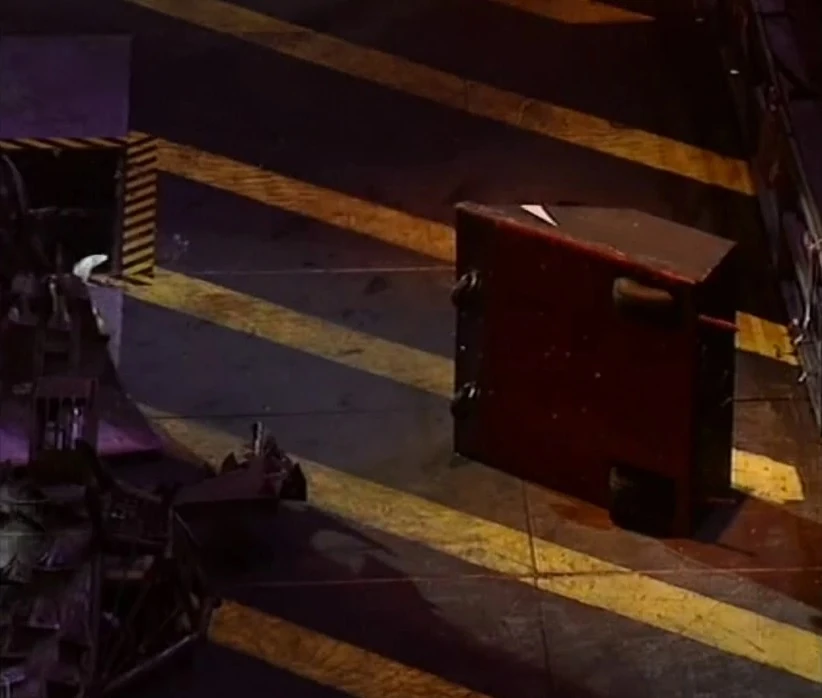
Tender Caress, balanced with a wheel over the edge.
Tender Caress moved forwards to get close to the centre of the ring, but Dead Metal advanced quicker and pushed Tender Caress towards the edge. Dead Metal reversed away as tender caress had one wheel trapped over the edge. Tender Caress tried to turn around to escape, but it was too slow and Dead Metal drove in, slamming Tender Caress off the podium, where it bounced off the tyres and landed on the floor upside-down.
Flirty Skirty[]

Flirty Skirty tries to keep itself on the ring.
- "We're gonna nail ourselves to the floorboards."
- — Albert Peter describing the modifications Flirty Skirty had made for the Sumo
Flirty Skirty edged forwards with its skirts up, and dropped the skirts when Dead Metal drove in. The skirts had been modified with nails to try and grip into the floor, but Dead Metal slammed into Flirty Skirty before they had a chance to grip in the floor. Dead Metal gripped Flirty Skirty with its pincers and pushed the robot to the edge of the ring, trapping it with one side off the ring. Dead Metal reversed to get a run up on Flirty Skirty, slamming into the box to push it off. Flirty Skirty's bulky size meant it tipped up a bit as it started to overbalance, lifting Dead Metal's wheels off the ground and keeping it balanced, unable to be pushed off. However, Dead Metal opened its pincers, releasing that grip and allowing Flirty Skirty to finally fall off, but that extra time had helped it last longer than Tender Caress. Dead Metal had one more charge, getting stuck with Flirty Skirty wedged sideways in the air.
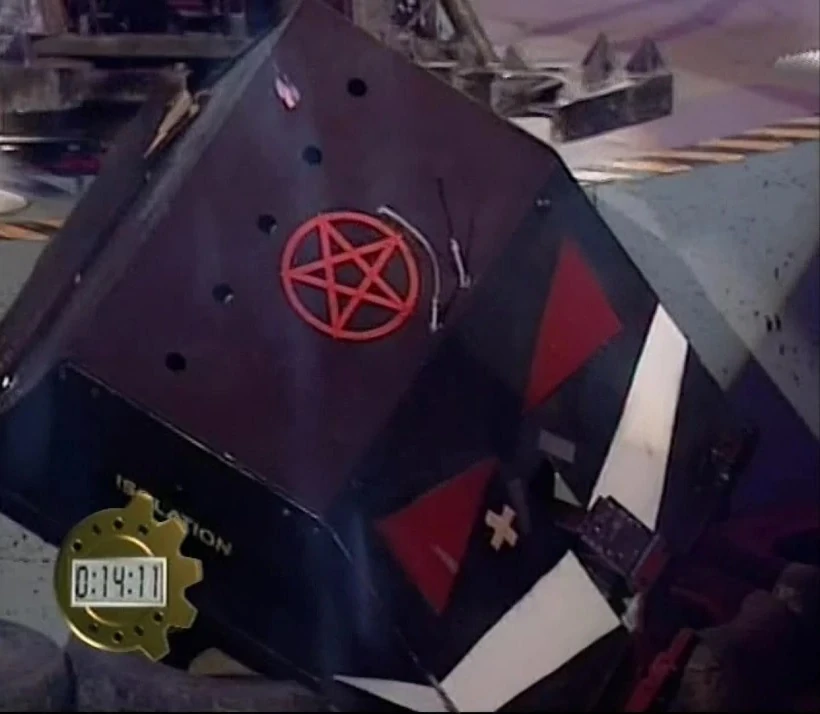
Vercingetorix[]

Vercingetorix's strong start.
Vercingetorix drove at Dead Metal, bumping the House Robot as it tried to grapple with the wedge. Dead Metal's pincers rode up the wedge and lifted its wheels off the ground, so Dead Metal had to flail its pincers to free itself. Vercingetorix stayed stationary in the centre of the ring as Dead Metal tried to reorient itself to push Vercingetorix from the side. Dead Metal tried pushing, but Vercingetorix (which by now was not showing signs of life) had enough resistance that Dead Metal had to stop. After another attempt, Dead Metal got its pincers either side of Vercingetorix and shoved it to the edge, holding it dangling over the edge to cut into the top corner with its saw. However, in holding to attack, Dead Metal inadvertently allowed the timer to run out, so technically Vercingetorix had survived.
Havoc[]

Havoc falls off the ring
Havoc immediately turned to the right and circled around Dead metal, which had charged at Havoc's starting position. However, Dead Metal simply turned on the spot and pushed Havoc from the side towards the edge. Dead Metal pinned Havoc on the edge and tried to slice into the top of the robot with its saw, but the arm harmlessly hit the corner, keeping the saw out of reach. After a couple of failed cuts, Dead Metal released Havoc, reversed and then slammed Havoc off the ring. Dead Metal ended up wedged on Havoc's side.
Haardvark[]

Dead Metal falls off the ring and lands on Haardvark
Haardvark slammed into Dead Metal and began pushing the House Robot back towards the edge. Dead Metal managed to spin enough to escape the grip, and ended up side-by-side with Haardvark. Haardvark reversed to try again and drove at Dead Metal, but didn't turn and missed. The House Robot began to spin on the spot, whacking the rear of Haardvark with enough force to bounce it into danger by the edge. Dead Metal waited for Haardvark to recover, but drove forwards a Haardvark, pushing it off as Dead Metal followed off the platform.
- "Our controller's been not terribly good. We had a big burnout, so we only had forwards and backwards control. So we're thrilled we go through"
- — Liz Harrison
Results[]
| Rank | Robot | Time |
|---|---|---|
| Vercingetorix | Survived | |
| Haardvark | 17.60s | |
| Havoc | 14.15s | |
| Flirty Skirty | 10.63s | |
| Tender Caress | 6.03s |
Arena[]
Semi-Finals[]
Haardvark vs. Vercingetorix[]

Vercingetorix is pitted
Vercingetorix raised its flipper a few times while Haardvark made its way forwards. The two robots met, but both seemed to resist each other's pushes so stayed still. Haardvark reversed away and had another go, slowly pushing Vercingetorix back. Haardvark began pushing Vercingetorix, slamming into the side multiple times, but Vercingetorix didn't seem to be moving as Haardvark kept hitting their opponents, although the front forks were getting bent and stuck on the floor multiple times.
After another slam from Haardvark, Vercingetorix managed to get some drive back, but only headed into the PPZ, where Shunt was waiting and began to hit with its axe. Shunt and Sir Killalot began to push Vercingetorix onto a flame pit.
- "Dulce et decorum est pro patria mori- How sweet it is to die for your fatherland. And that's what's going to happen, it looks to me, for Vercingetorix."
- — Jonathan Pearce does Latin
Sir Killalot lifted Vercingetorix up with its lance and carried the blue robot over to the pit, where it was dropped in.
Winner: Haardvark
Havoc vs. Flirty Skirty[]

Sir Killalot lifts the skirts off Flirty Skirty
Havoc crossed the arena to shove Flirty Skirty, but was unable to push it back. Havoc reversed away and had another attempt, driving it lifter in a gap over the skirts of its opponent. Flirty Skirty lifted the skirts up, trapping Havoc's lifter in place. However, this allowed Havoc to have the grip it needed to push Flirty Skirty forwards and into the PPZ. Sir Killalot came in to deal some damage, and managed to lift the outer bodywork of Flirty Skirty up.It dug the lance into the internal, ripping some internal chains and wires out and getting the chassis hooked on the lance.
- "Good gad Sir! You have disrobed Flirty Skirty! You cad Sir Killalot! It is not done in Robot Wars to leave a young lady so vulnerable!"
- — Sir Killalot is reprimanded by Jonathan Pearce
Sir Killalot paraded Flirty Skirty around the arena, dropping the armour on the way and didn't quite make it to the flame pit as time ran out.
Winner: Havoc
Final[]
Haardvark vs. Havoc[]

Havoc is flipped
Both robots advanced at each other, but both managed to turn away from each other and had to circle back. Haardvark landed the first push, getting Havoc close to the pit, but reversed away as Havoc turned around. Havoc spun around to try and hit Haardvark with its mace weapon, but Haardvark instead pushed through, getting Havoc as close to the PPZ as it could. Havoc reversed onto the flame pit and then drove off, but Haardvark tried to intercept it and force Havoc into the PPZ, but strayed in itself. Matilda have haardvark a tentative flip, but Haardvark managed to use the large pendulum to keep Matilda at bay and escaped. Haardvark pushed Havoc towards a very full PPZ, but Havoc managed to escape until haardvark's next push put it into the clutches of Shunt. Shunt slapped Havoc twice with the axe, before pushing Havoc back until it fell over and got wedged on its side.
- "I'm amazed we got this far!"
- — Liz Harrison on making the Semi-Finals
Heat Winner: Haardvark
- "TV censors can put in their horns, but they can't touch us, we're Robot Wars!"
- — Craig Charles' sign-off
Trivia[]
- Every robot in this Heat used a pair of 12V batteries as the powering system.
- This was the only Heat outside of Series 1 to consist entirely of newcomers.
- No robot in this Heat ever achieved additional success. Angel of Death and Tender Caress did not appear on the show after this, and the four that returned all fell in Round 1 in the next wars. Beyond that, only Team Vercingetorix was seen on the show again, with only three battle victories to their name.
- This Heat was one of two episodes containing The Gauntlet where no competitor completed it, the other being Heat I of the Second Wars.
[]
| |||||||||||||||||||||||